Learning Objectives:
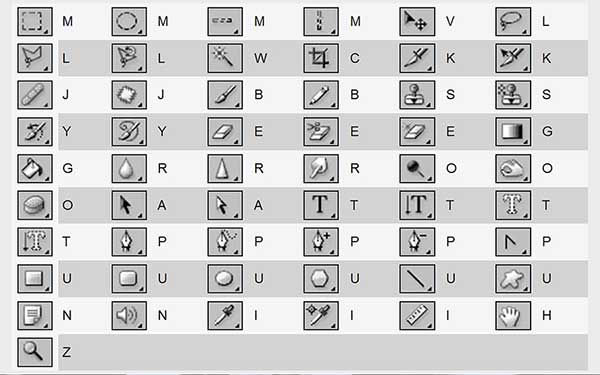
You will be able to identify the tools on the tool bar.
You will be able to modify a picture using the Content Aware Move.
You will be able to modify a picture using the Clone Stamp Tool.
Class Videos:
New AI - Selection tools, Generative Fill, and Sky Replacement
Neural Filters Photo Restoration
Watch: Content Aware Move and Healing Brush
Watch: Resizing Images with Photoshop
Watch: Healing Brush
Tools used (additional help if needed):
Homework:
Read: Chapter 1 & 2 in your book and do the exercises at the end of each chapter.
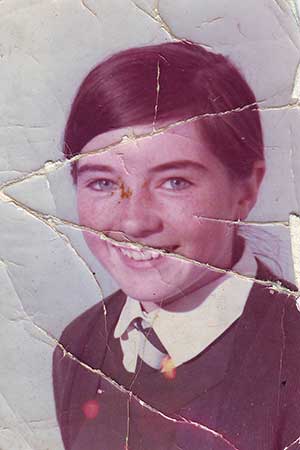
Post: Correct Picture using the tools mentioned above to fix color and remove cracks. Post on Canvas under the Assignments - Correct Picture. Make sure to post the PSD (keep all the layers) and JPG that is under 100k
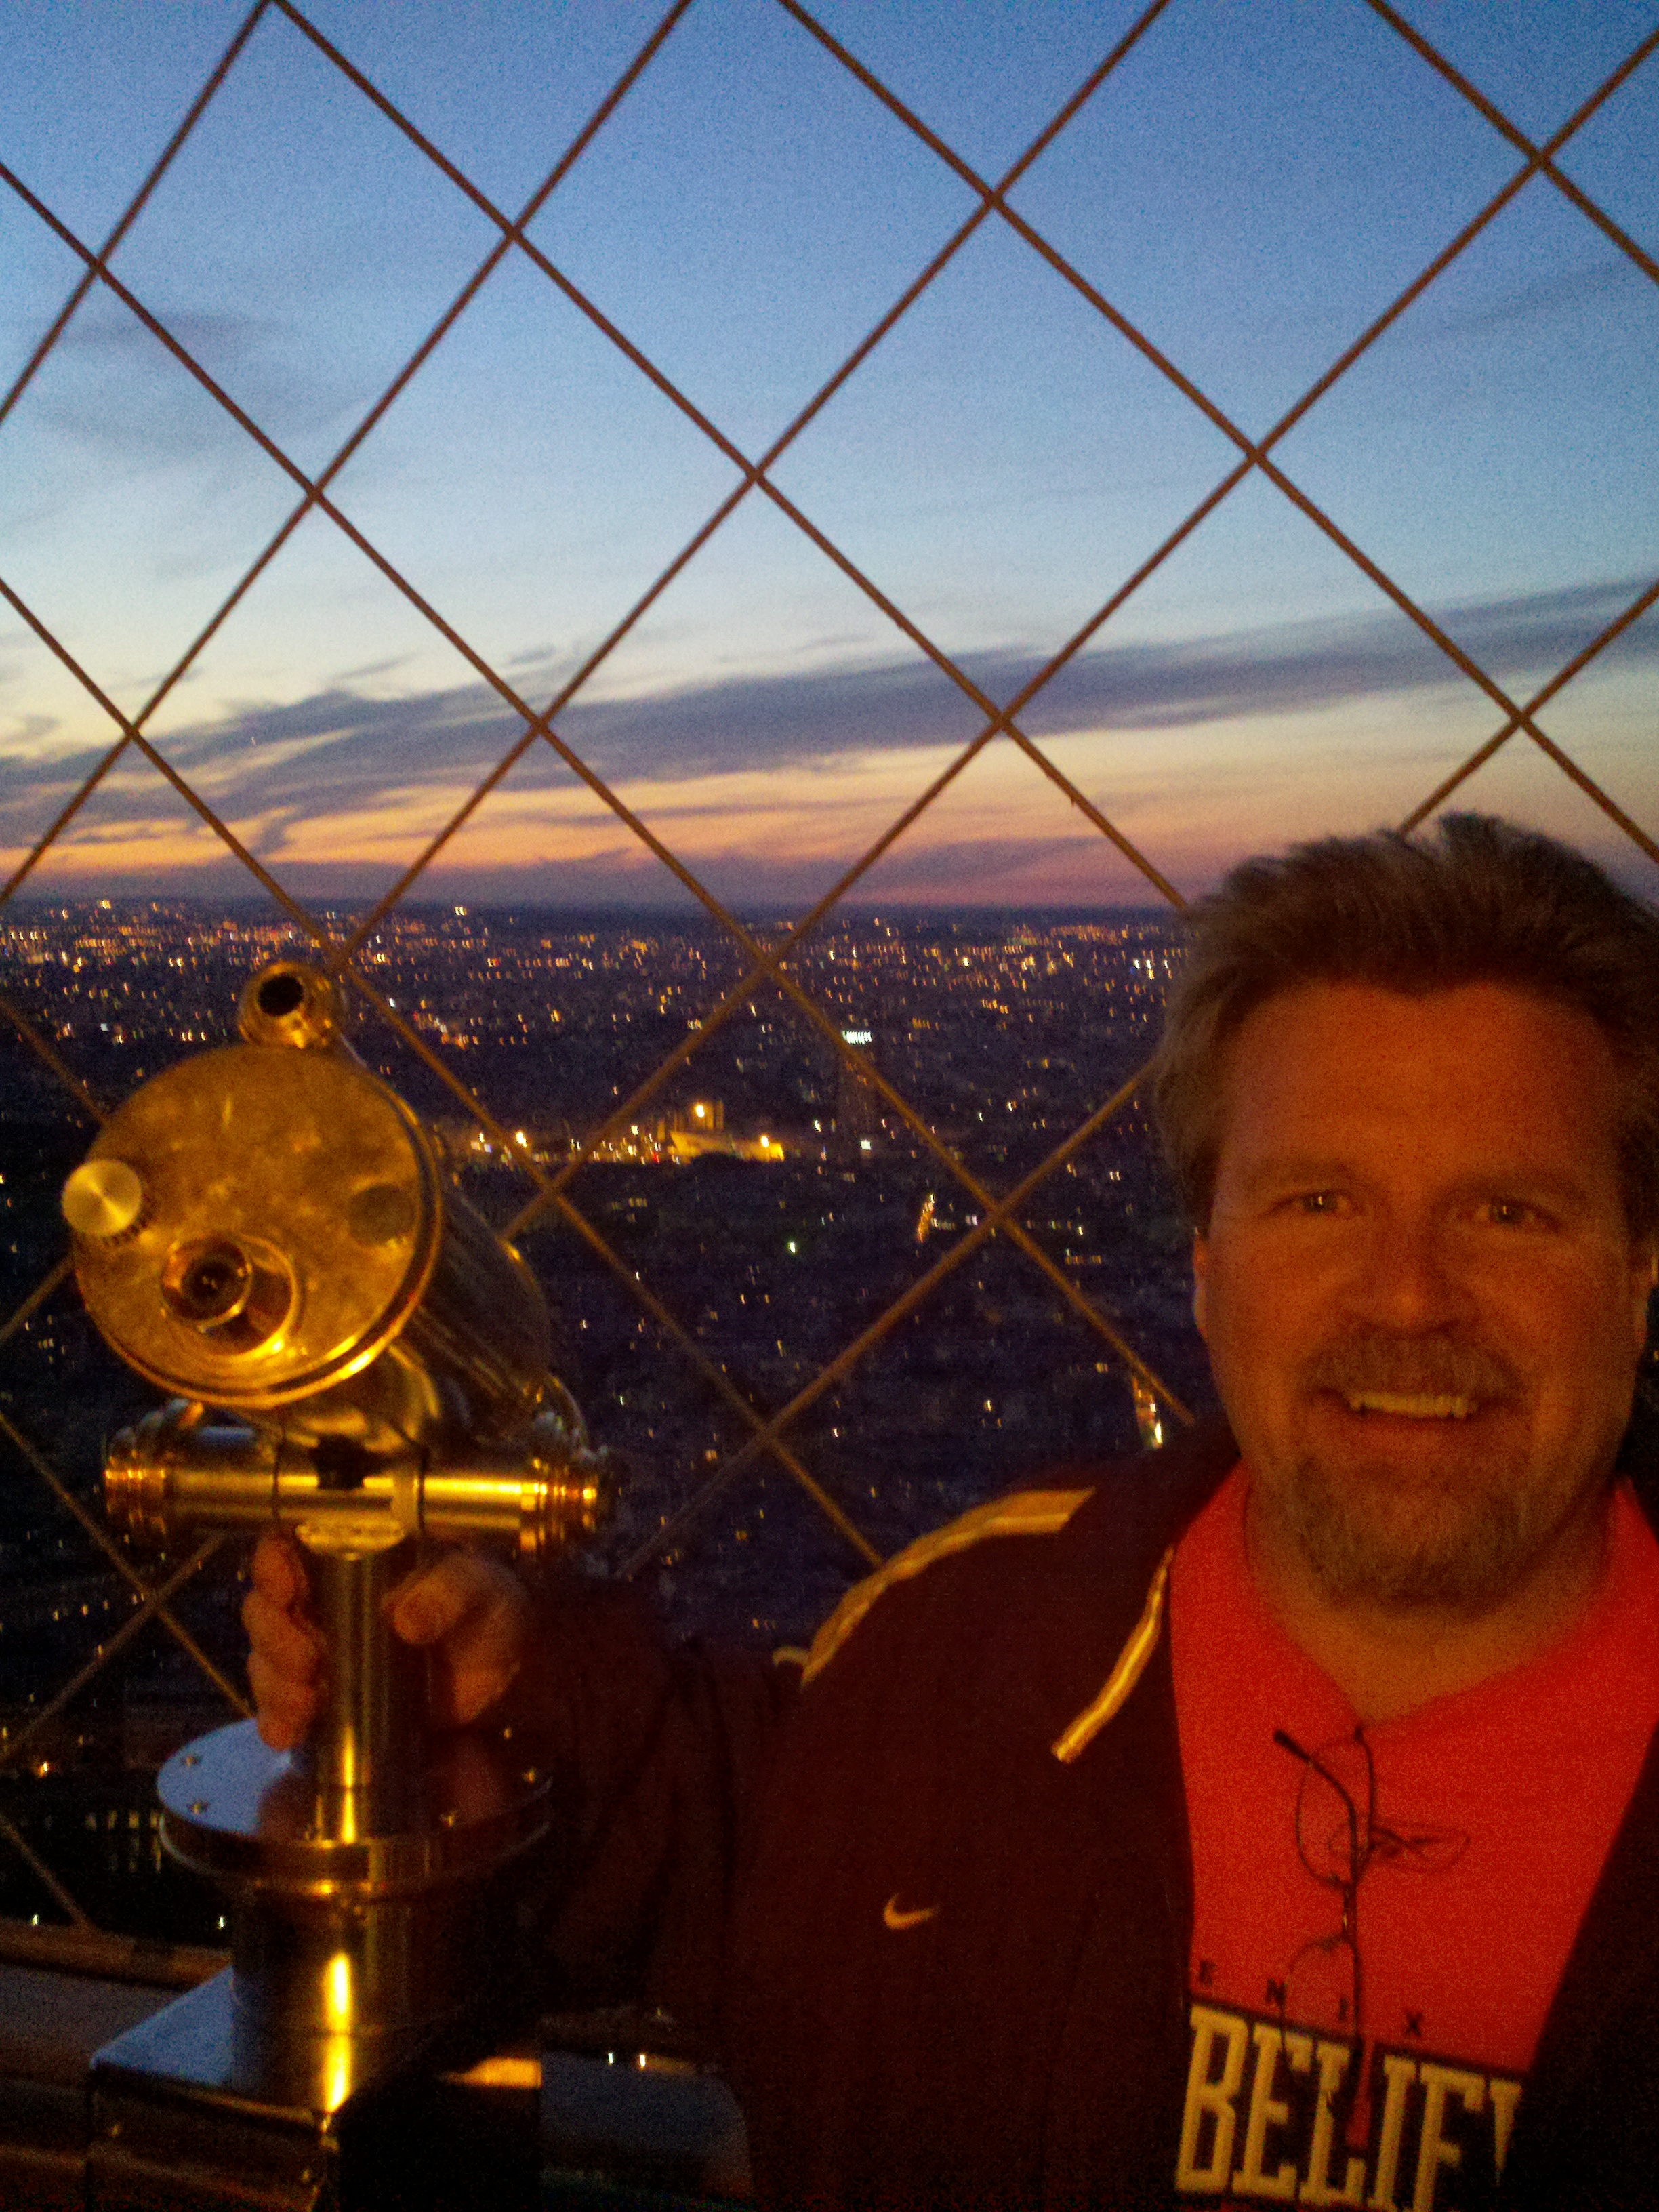
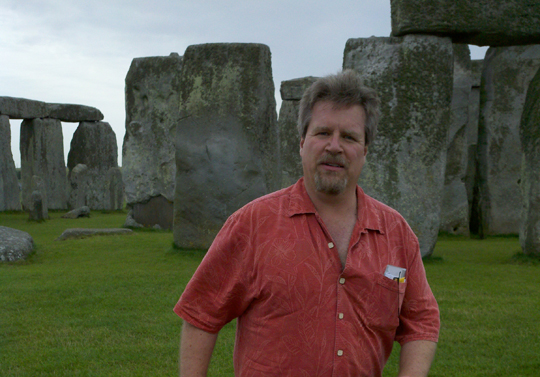
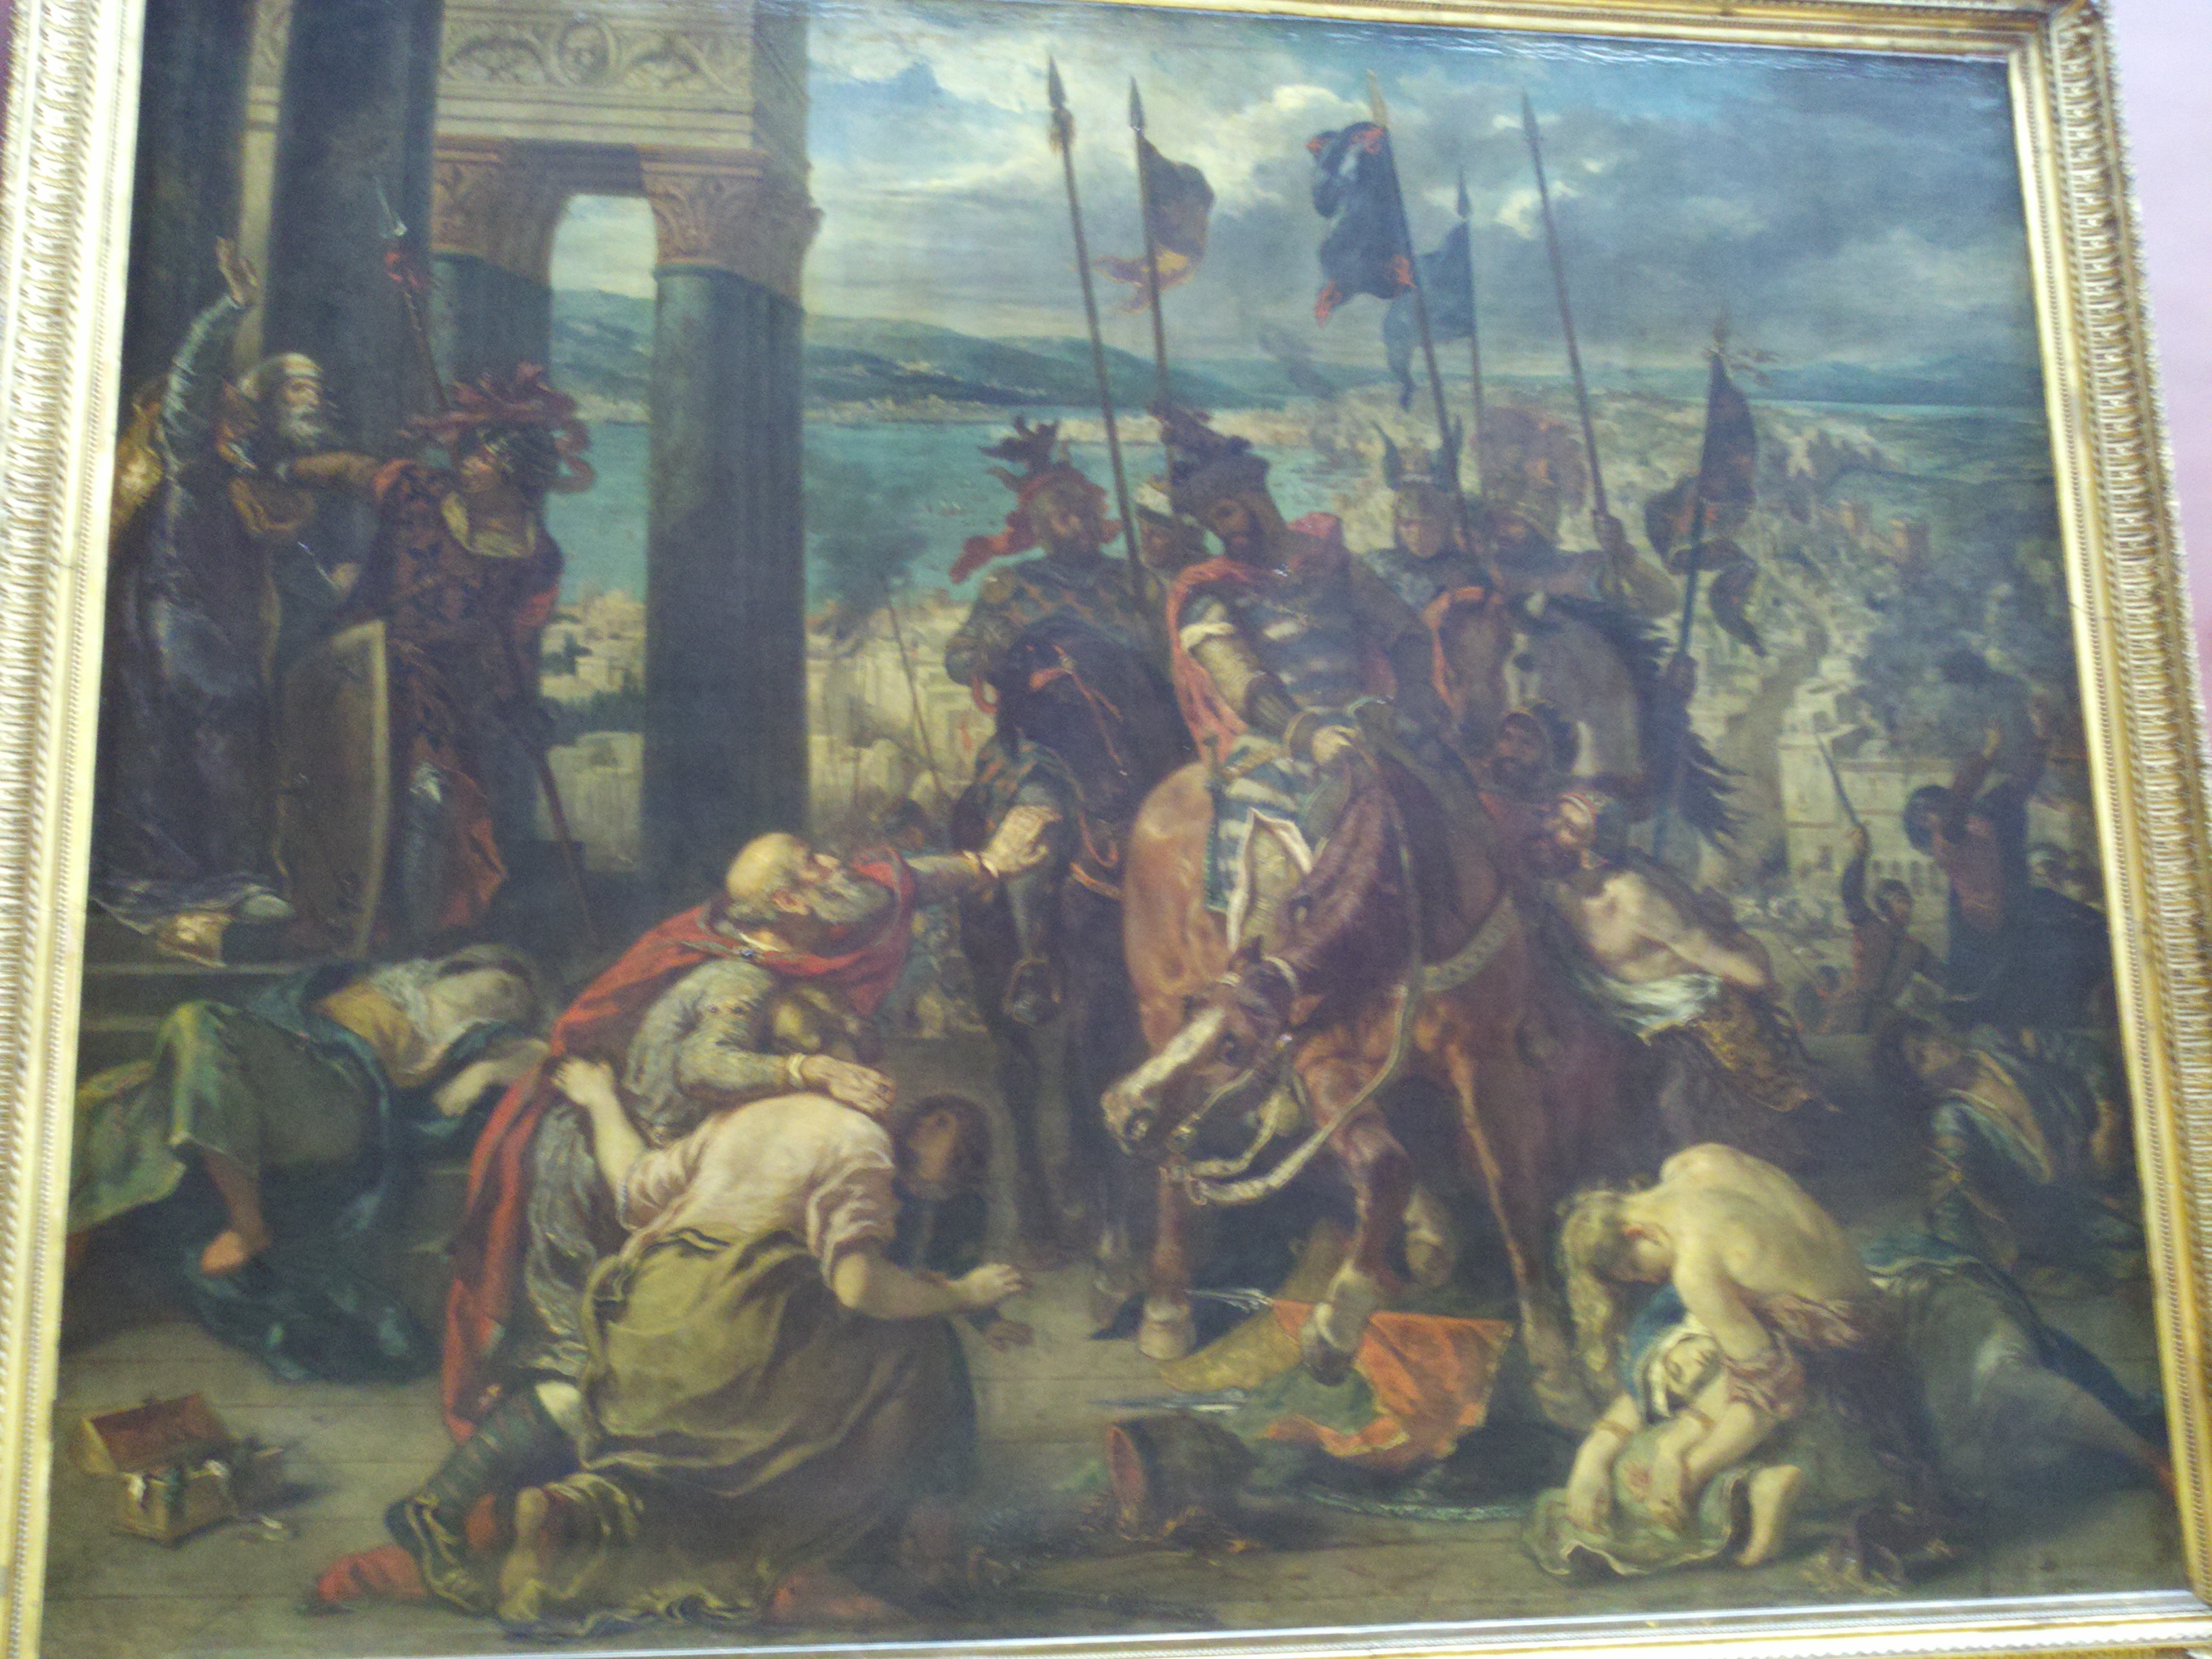
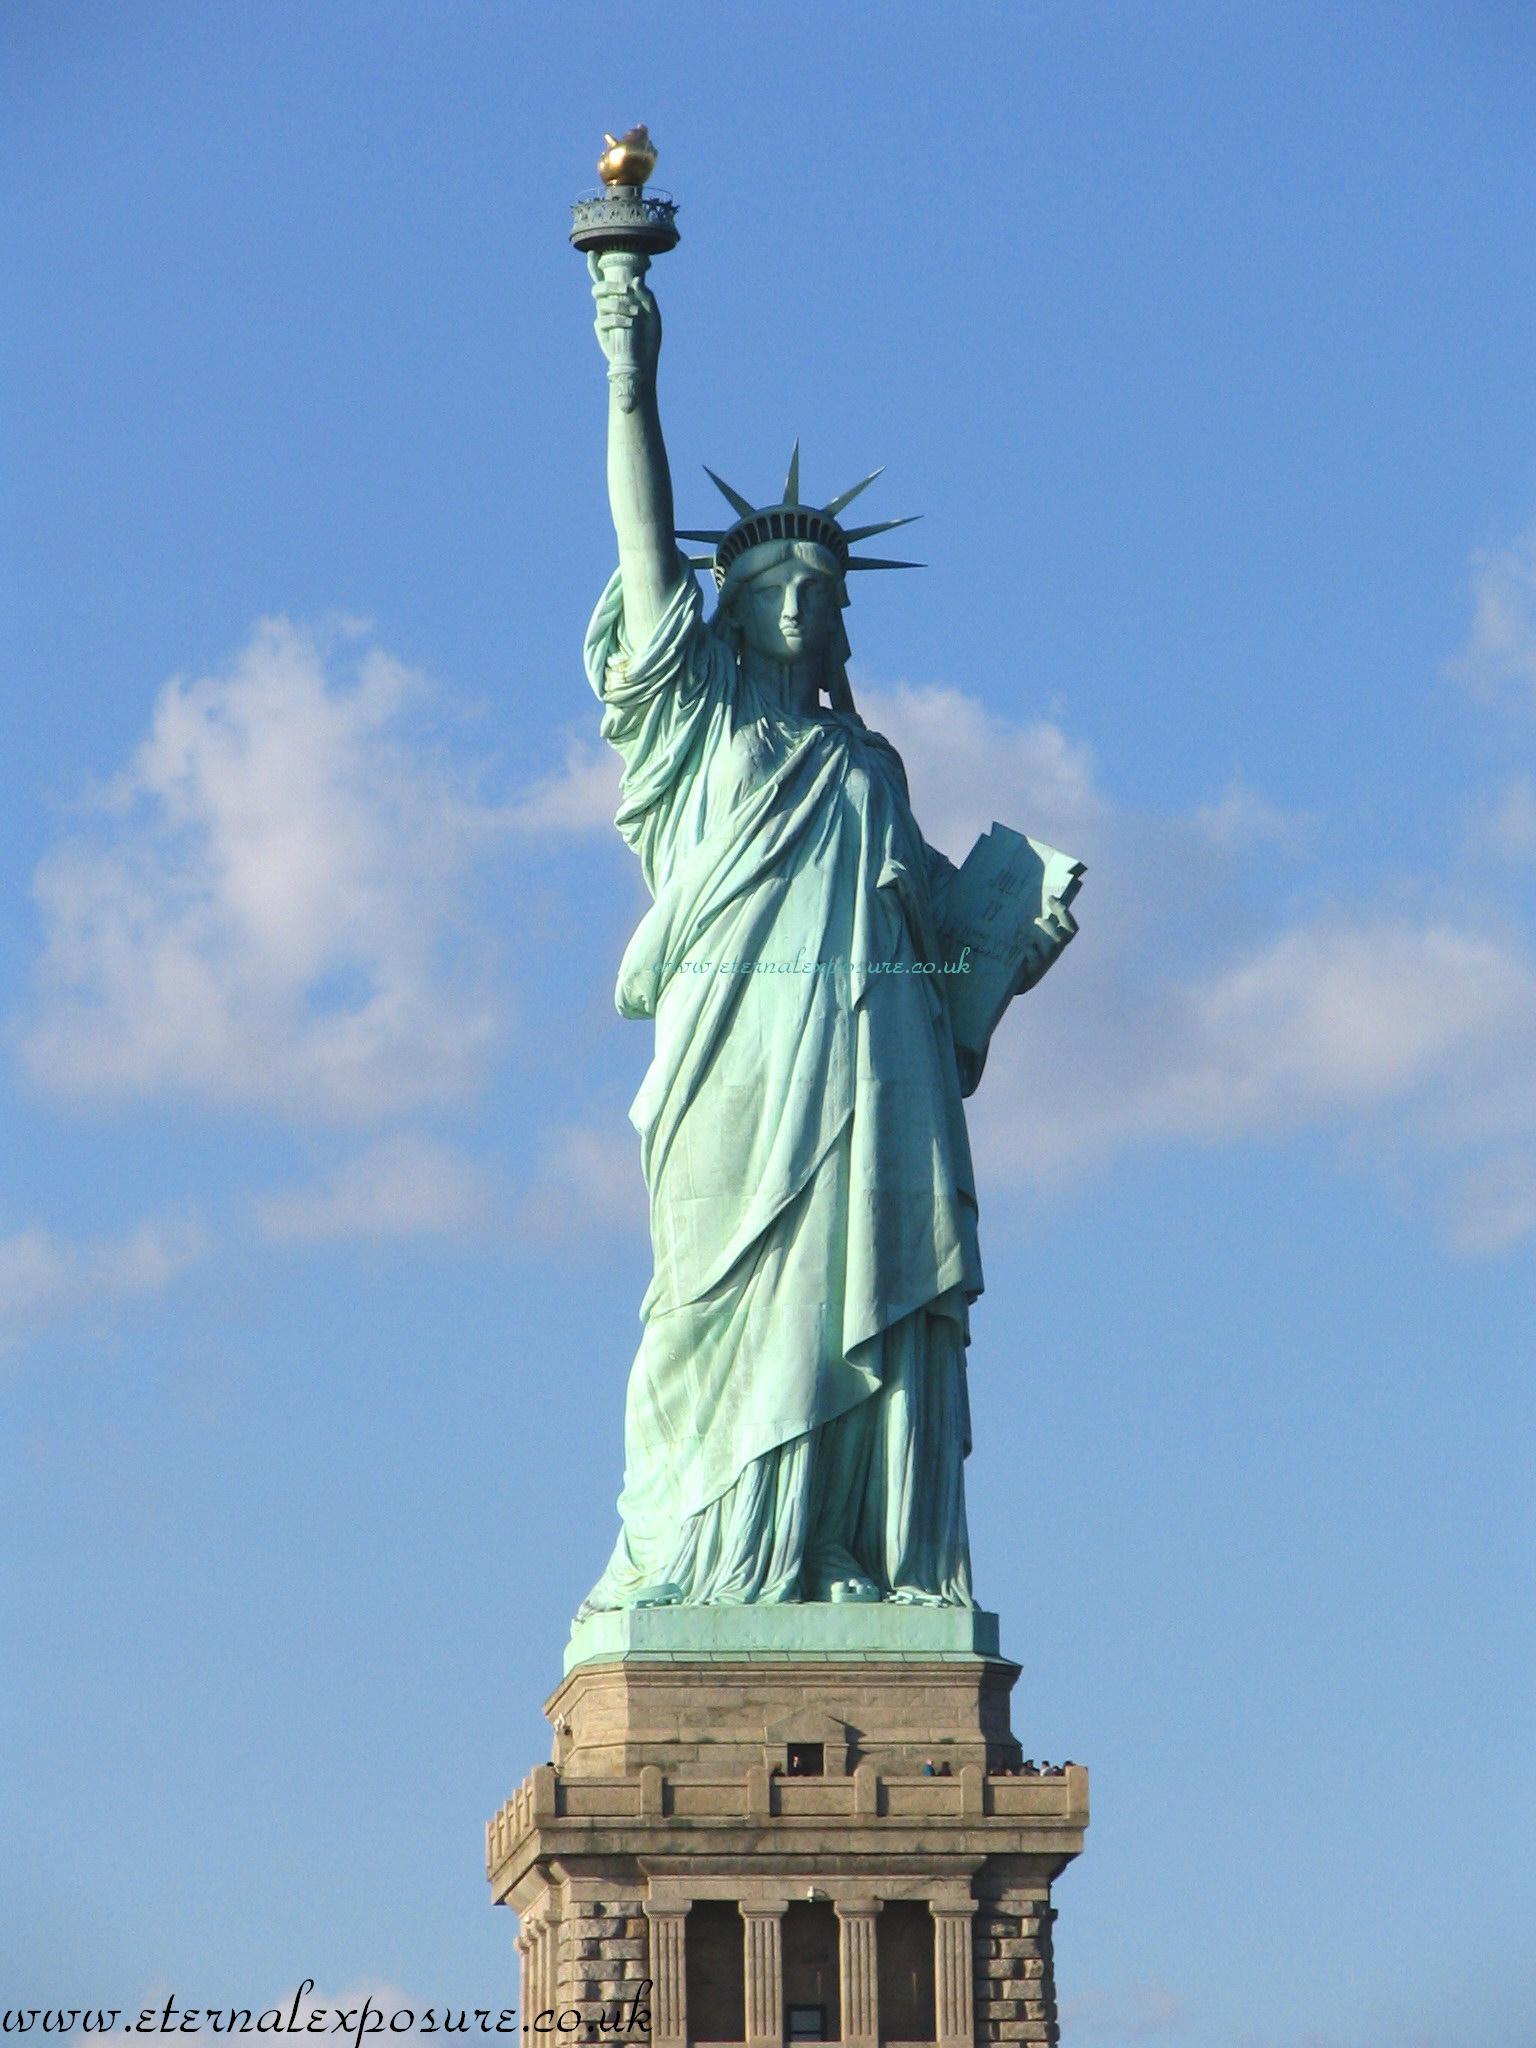
Pictures Used: Eiffel Tower, Stonehenge, Louvre, Old Photo, & Lady Liberty
Additional Information:
Review: Clone Stamp
Review: Quick Selection
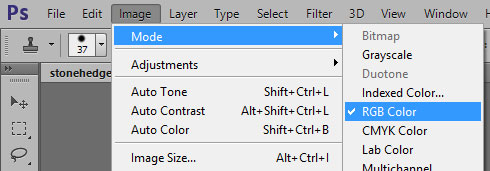
Before you start: Make sure the picture is in RGB mode for Web graphics editing or CMYK for print graphics.
Missing a Panel? - Go to Window on the menu bar select the panel you want
Quick Key List:
Dodge - Lightens pixels where you paint.
Burn - Darkens pixels where you paint.
Sponge - Saturates or desaturated the pixels where you paint.
Hue is the color
Saturation is the intensity (amount) of the color
Color Cast is when the color of the photo doesn't match real life color. 4 Color Cast adjustment strategies
Adjustment Layer - create a layer to change picture settings vs Adjustment - change actual picture vs Camera Raw - change the camera output in the native format of the camera before Photoshop plays with it.
Retouching Strategies (Thanks Douglas Royter)
Most retouching follows 8 general steps
The steps listed here are the most efficient sequence of retouching steps, so they should usually be done in the order presented. For example, tone correction should be done before color correction, because correcting tones can have the side effect of correcting a color cast, reducing the amount of color adjustment needed.
- Duplicating the original image of scan. Always work with a copy of the image file, so that you can recover the original later if needed.
- Checking the scan quality and making sure that the resolution is appropriate for the way you will use the image.
- Cropping the image to final size and orientation.
- Repairing flaws in scans of damaged photographs (such as rips, dust, or stains.)
- Adjusting the overall contrast or tonal range of the image.
- Removing any color casts.
- Adjusting the color and tone in specific parts of the image to bring out the highlights, mid tones, shadows and de saturated colors.
- Sharpening the overall focus of the image.
You should:
study about scanning, tonal correction, and color correction. This chapter merely scratches the surface of image correction—a skill set that is very deep, extremely valuable, and involves concepts well beyond the scope of both this book and the Photoshop documentation. Many books on correction and retouching are available from Peachpit Press.
You need to be clear on the concept that the specific settings applied at many of these stages will differ depending on the final output. For example, the best resolution and sharpening values for print and Web are very different. In addition, settings that are best for one medium are often detrimental in another. If a student knows that an image will be used in more than one medium, they should maintain a full-resolution master image, and from it, derive versions of the image that are optimized for print, Web, or other uses.
Adjusting the tonal range
Beginners will often adjust tones by going straight to the Image > Adjustments > Brightness/Contrast commands, probably because the command names sound like familiar TV controls. However, it’s best to discourage use of Brightness/Contrast for most situations. The Levels and Curves commands can make an image lighter or darker while preserving the lightest highlights and darkest shadows. Because of the way Brightness/ Contrast works, it’s far more likely to delete useful tonal information, especially in highlights and shadows. Students may ask what the Brightness/Contrast command is for. Because it performs linear changes on an image’s tones, it can be very useful when working with non-image channels such as masks. But it isn’t very useful when handling photographic images. In other words, beginners are not likely to need to use the Brightness/ Contrast command.
Removing a color cast
A 24-bit monitor is needed to see a color cast. For best results, that monitor should also be calibrated; otherwise it may not be clear whether the cast is in the monitor or in the image. For students who have some familiarity with earlier versions of Photoshop, you can discuss with them how the new Auto Color feature makes it unnecessary to create an adjustment layer and tinker with the Color Balance by hand. It is still possible to use those techniques in Photoshop CS, but it's not necessary unless the situation is special or you are trying to create unusual effects.
Replacing colors in an image
You should complete general tone and color corrections before they perform specific color corrections such as the Replace Color command or using the Color Replacement tool.
Adjusting lightness with the Dodge tool
When using the Dodge, Burn, or Sponge tools, the key to believable results is subtlety. Use these tools at low Pressure/Exposure settings and build up their effects gradually.
Adjusting saturation with the Sponge tool
Be careful about saturating a color past the point that the output medium can handle. This can easily happen on print jobs, since most colors will exceed the CMYK gamut long before they appear over saturated on a monitor. Watch out for over saturation by using the Proof Colors and Gamut Warning commands on the View menu.
Apply the Unsharp Mask filter
Threshold value should be increased for surfaces that would become too grainy if sharpened at a Threshold value of 0. For example, it's common to set the Threshold to a value of 8 or higher for skin areas.
Saving the image for four-color printing
The way Photoshop converts to CMYK depends on the CMYK Working Space set in Edit > Color Settings. For example, if the Settings chosen at the top of the Color Settings dialog box are U.S. Prepress Defaults, the CMYK Working Space is U.S. Web Coated (SWOP). When working on a job for press, students should always confirm with their printer which CMYK working space is the best match with the printer's equipment.
The appearance of an image after converting to CMYK is often disappointing. Overall saturation is usually lower and some colors may shift. Reassure students that Photoshop is simply being honest about what colors can actually be achieved in the CMYK gamut (assuming that all Color Settings are set correctly).
The Byte Order setting in the TIFF Options dialog box isn't usually critical because most professional graphics programs (such as Adobe products) read both Mac and Windows byte orders.
Terms:
Clone Stamp, Pattern Stamp, Patch, Healing Brush, Spot Healing Brush, Quick Selection & Camera Raw
Dr. Jon Storslee
Phone: 602-787-6734
